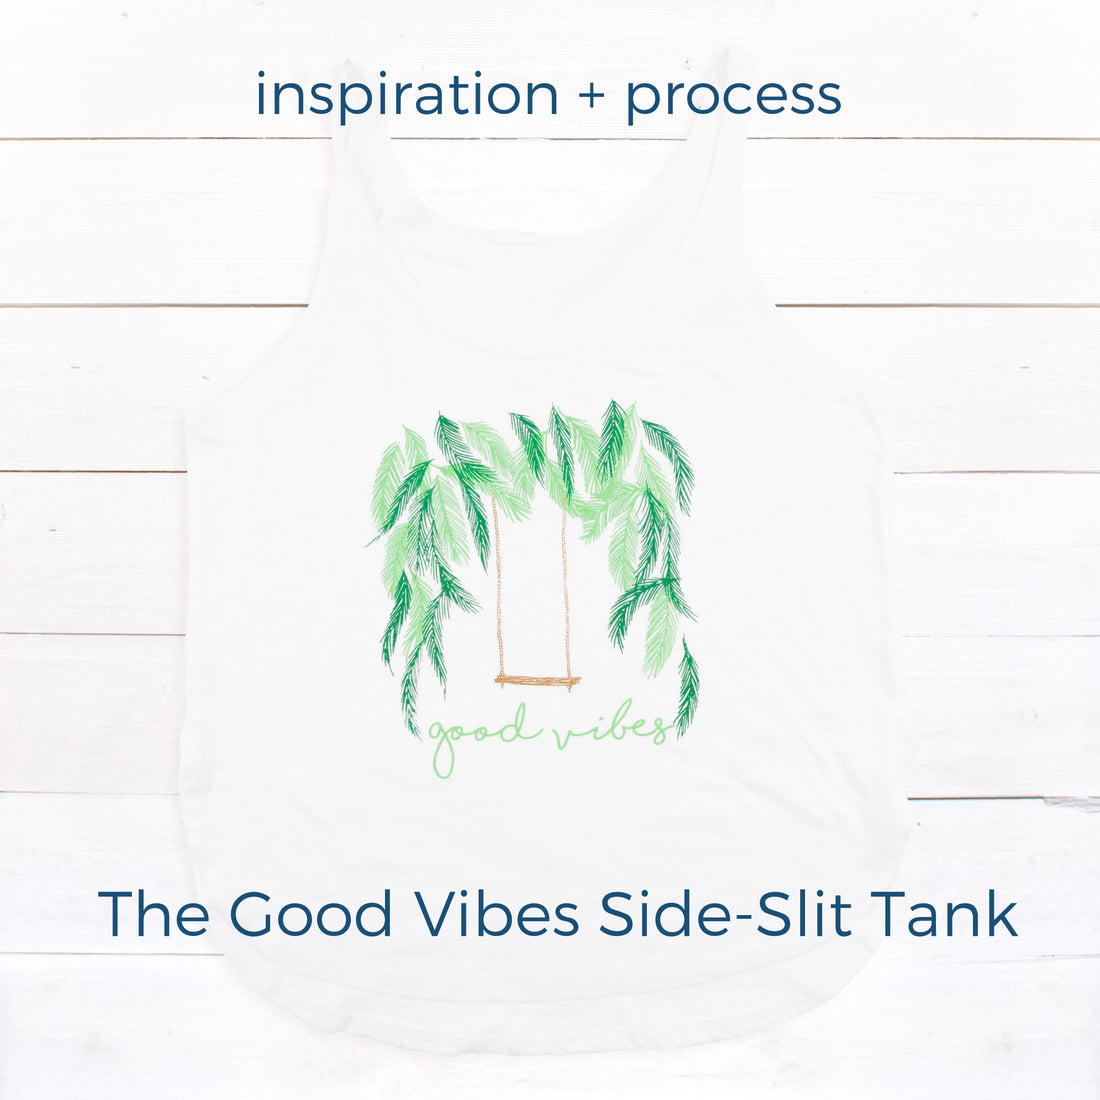
Inspiration + Process | Good Vibes Tank
At this point its no secret that as an artist + designer I am most comfortable with pen and ink. The Sharpie marker is my muse and its where all of our shirt designs originate. Needless to say, there’s a bit of unconventional legwork involved when turning a Sharpie sketch into a finished t-shirt print. I wanted to give you all a brief walk-through of how I turn my drawings into the real thing!

It all starts with the inspiration. In some cases we use customer feedback or look for gaps in our collection to decide what to print in order to fill out our line. Our Ursa Major design, for example, was in response to customers who love bears, and the fact that we didn’t have anything yet, other than our Grizzly tie, featuring the beast. Our Good Vibes Design, however, was inspired by a dreamy photo we loved on Pinterest.

For me, the swing perfectly embodies the spirit of summer : freedom, fun + adventure. As we geared up for a very surf/beach focused collection launch, tying in the palm trees was a no brainer.

I built the brand on my very simple, single color drawings. Focusing on one color designs make set-up pretty streamlined, and leaves me more time to tinker with technique for unique textures and print qualities which I’ve truly enjoyed doing the past few years. The Good Vibes Swing, however, was not going to work as a single color so I needed to get crafty.

My first step was to draw out each element of the design on its own so that I could create the films for each color separately. While I’m no stranger to computers, a pen and paper is my comfort zone so creating this swing and palm leaves with a mouse is a debilitating non-starter for me.

Once all the leaves are drawn I scan them, toy with the contrast for a firm black and white print, then print them onto a transparency with my standard laser jet office printer. To create a screen you need to create a very dark stencil to block the light, so your base can be anything transparent. Rather than use a second piece of (expensive) transparency, I cut an old sheet protector open and used one half of it as my base. I then cut out and taped each leaf in place on top of the sheet protector to create my final film. In the case of the light green print, I also taped the text along the bottom.

Once the screens are made you can’t make changes so making sure the registration works in advance is critical. I use a light table to in our dark room to line up all 3 transparencies to make sure they’ll work together before burning them onto screen. For designers who create their work in Illustrator they can simply select components by color and pull apart the design within a few clicks. Its just a matter of printing the films which is probably way easier and faster, but again, debilitating non-starter.

Once the screens are done its an easy 5 minute setup to register the screens, choose ink colors and start printing! I 100% love how this design turned out on this flowy, slub, side-slit tank.